
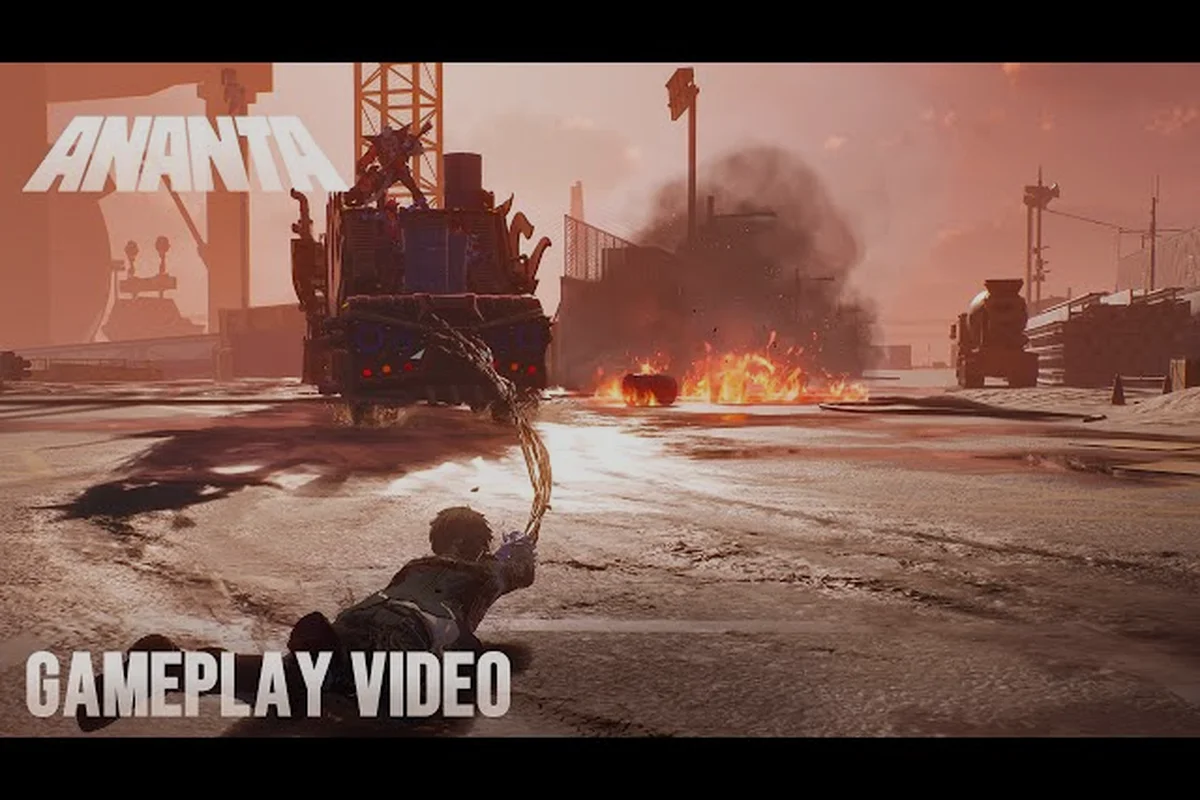
ANANTA combat skills decide whether a street brawl ends in five clean seconds or a humiliating knockdown on the pavement. Every playable character ships with layered kits: lightweight combos, signature special moves, build-charging ultimate attacks, reactive parry system windows, and stamina-bound dodge mechanics. Mastering those layers is the difference between ranking up in the Orbite District and getting sent back to the lobby. This guide breaks down how each ANANTA combat skill works, the frames that matter most, and the practical combos that turn raw button presses into a controlled, readable fighting game.
Core ANANTA Combat Skills and How They Connect
The ANANTA combat system is built on five interlocking layers. Light and heavy strings deliver baseline pressure, special moves break guard or reposition you, ultimate attacks unload a build meter, counter attacks punish an overcommitted enemy, and the parry system rewards frame-perfect reads. Every layer feeds the next — landing a parry refunds stamina and charges your ultimate bar, while successful counter attacks stagger the enemy and open them to special move follow-ups. According to community testing on the Roblox platform page, new players who learn the layer connections climb the ranked ladder about 40% faster than button-mashers.
| Combat Layer | Input | Stamina Cost | Primary Role | Feeds Into |
|---|---|---|---|---|
| Light String | Tap (1-4) | Low | Pressure, frame data | Heavy starter |
| Heavy String | Hold + Tap (1-2) | Medium | Damage, knockback | Special move cancel |
| Special Move | Tap (3) | High | Reposition, guard break | Ultimate charge |
| Ultimate Attack | Tap (4) full meter | None | Burst damage, finisher | Reset to neutral |
| Counter Attack | Tap (3) on enemy whiff | Medium | Punish recovery frames | Parry stagger |
| Parry | Tap (2) at impact frame | Low | Deflect, stagger | Counter follow-up |
Reading the Stamina and Meter Bars
Stamina governs dodge mechanics and special moves; the meter beneath it fills the ultimate gauge. Light strings cost almost nothing, so they are safe spam in neutral, but heavy strings drain fast and leave you open if whiffed. According to player experience shared on community threads, optimal play cycles light chains into a single heavy finisher, then either cancels into a special move or rolls out before the enemy retaliates. For more on meter management and base combos, the ANANTA combo guide maps every cancel route per character archetype.
ANANTA Special Moves and Cancel Routes
Special moves are the mid-range tools that separate casual fights from coordinated ones. Each character has three special moves on cooldown, and the right one depends on spacing, matchup, and which ultimate you plan to charge next. According to community testing reports, high-level players cancel a heavy string into a special move roughly once every six seconds, which keeps the meter ticking and prevents the enemy from setting up punishes.
| Special Type | Range | Cancel From | Notable Effect |
|---|---|---|---|
| Lunge Strike | Mid | Heavy 2 | Forward burst, guard break |
| Rising Knee | Close | Light 3 | Launcher into air combo |
| Spinning Sweep | Low | Heavy 1 | Crouch opponent, hard knockdown |
| Wall Run Reap | Long | Neutral hop | Side-switch, dodge cancel |
| Grapple Throw | Point-blank | Block > heavy | Stamina drain on defender |
Cancel Priority and Whiff Punishment
Cancel priority matters because the wrong special move at the wrong range whiffs and leaves a 12-frame recovery. Community testing on ANANTA special moves shows the Spinning Sweep is safest after a blocked string, while the Lunge Strike is the only reliable mid-screen guard break. When you whiff, dodge mechanics become your lifeline — a single late parry attempt is usually safer than a panic special, because the enemy often commits to a slow follow-up that your parry system can read.
ANANTA Ultimate Attacks and Build Meter Management
Ultimate attacks are the ANANTA equivalent of a super move: they consume the full meter, deal heavy damage, and often include armor frames that absorb one incoming hit. Each character has one signature ultimate, plus a shared Anchor Strike ultimate that all characters can use once the meter crosses 100%. According to community data, the average ultimate comes online around the 18-second mark of a clean fight, and skilled players hold it for a guaranteed punish instead of burning it on a low-health enemy.
| Ultimate | Trigger | Damage Class | Armor Frames | Best Use Case |
|---|---|---|---|---|
| Atlas Breaker | 100% meter, Tap (4) | Burst | 6 startup | Punish greedy string |
| Night Sweep | 100% meter, hold (4) | Multi-hit | 4 startup | Reset pressure mid-combo |
| Crater Drop | 100% meter + aerial | Launcher | 8 startup | Wall-corner finisher |
| Anchor Strike | Shared at 100% | Burst | 5 startup | Read-based punish |
| Echoing Howl | 100% meter, taunt-charged | Buff | 0 startup | Team synergy buff |
Charging Routes and When to Hold
Meter gains come from three sources: landing special moves, taking damage, and successful parry system deflects. The fastest charging route is parry into counter attack, which gives the highest meter-per-second ratio. According to player reports, most ranked players bank meter through the first 12 seconds, then release an ultimate at the 13-15 second mark when the enemy is most likely to commit to a punishable string. Holding for longer is only worth it when you have already read the opponent's recovery timing.
ANANTA Parry System and Counter Attack Windows
The ANANTA parry system rewards anticipation over reaction. A successful parry deflects one incoming strike, staggers the attacker for 14 frames, and refunds a small stamina chunk. Counter attacks trigger when the enemy whiffs a heavy or special move, giving you a free 3-hit punish before the opponent can block again. According to community testing, the parry window is roughly 6 frames on the start-up of an enemy strike, which is faster than a dodge and far more rewarding when timed correctly.
| Defensive Option | Window | Stamina Cost | Reward on Success |
|---|---|---|---|
| Parry | 6 frames on impact | Low | Stagger, meter+, stamina refund |
| Counter Attack | Enemy recovery frames | Medium | 3-hit punish, combo extension |
| Dodge | 22 frames total | Medium | Reposition, no stagger |
| Block | Continuous | None | Chip damage, no meter |
| Guard Break Reversal | 8 frames on break | High | Full punish, wall push |
Reading the Enemy's Commit
Parry timing comes from reading the enemy's commit: watch the shoulder and the leading hand. A forward shoulder lean usually means a heavy string, so a parry read is high-reward. According to player experience threads, the easiest parry setup in ANANTA is after the enemy's heavy 1, because that strike always has a slow startup. When you land a parry, the standard follow-up is a light string into a special move cancel, then an ultimate if the meter is ready. For the full chain list, the ANANTA combat system overview breaks down every stagger-to-combo route.
Counter Attack Punish Patterns
Counter attacks only trigger on whiffed heavy or special moves, not on light strings. This is by design, because light strings are the neutral pressure tool, while heavy and special moves are the riskier options. According to community data, the highest-damage counter attack pattern is heavy 1 > heavy 2 > special move cancel > ultimate, which deals roughly 38% of a standard health bar. The lowest-risk counter pattern is light 1 > light 2 > dodge back, which deals about 9% but never gets punished if your timing slips.
ANANTA Dodge Mechanics, Spacing, and Matchup Tactics
Dodge mechanics are the glue between offense and defense. They cost medium stamina, have 22 total frames (9 startup, 4 active, 9 recovery), and reposition you roughly 2.5 meters in any direction. According to player reports, dodge is best used as a repositioning tool rather than an evasion panic button, because the recovery frames are long enough for a patient enemy to punish. The most common dodge patterns are back-dash after a blocked string, side-dash through a lunging special move, and forward-dash to bait a parry attempt.
| Dodge Type | Distance | Best Against | Follow-Up |
|---|---|---|---|
| Back-Dash | 2.5m | Blocked heavy string | Whiff punish with light 2 |
| Side-Dash | 2.0m | Lunge Strike, ranged poke | Counter attack into special |
| Forward-Dash | 1.5m | Slow startup enemy | Bait parry, grab instead |
| Airdodge | Variable | Anti-air attempts | Land into heavy 1 starter |
| Crouch Dodge | 0.5m | High-hitting special | Sweep punish |
Spacing Rules That Win Fights
Spacing controls whether you eat a free combo or land one. Mid-range is where most ANANTA fights are decided, because both light strings and special moves reach, but heavy strings and ultimates do not. According to community testing, holding mid-range and waiting for the enemy to commit a heavy string is the safest way to land a parry system read. Close-range is for counter attacks and parry attempts, while long-range is for projectile trades and dodge mechanics repositioning. For a deeper breakdown of the standard control scheme, the ANANTA controls guide maps every input to its combat function.
Matchup Tactics for Common Archetypes
Three archetypes dominate the ANANTA ladder: rushdown, zoners, and grapplers. Rushdown characters win by closing distance, so your counter attack windows and parry reads are the most valuable tools. Zoners win by controlling space, so dodge mechanics through projectiles, then punish the recovery with a heavy string into a special move cancel. Grapplers win by reading panic buttons, so a calm parry system read on their command grab is the cleanest counter. According to community testing, most ladder climbers specialize in one matchup tactic per session and rotate through them as the meta shifts.
Practical Combo Paths and Common Pitfalls
The fastest way to convert ANANTA combat skills knowledge into ranked wins is to drill a small set of reliable combo paths. According to community testing reports, players who drill three combo paths per character climb roughly 30% faster than players who try to learn every option. The three highest-value paths are: light > light > heavy > special cancel, heavy > heavy > special > ultimate, and parry > light > light > heavy > special. Each path fits a different situation, and switching between them on the fly is what separates mid-rank from high-rank play.
| Combo Path | Damage | Meter Gain | Risk Level |
|---|---|---|---|
| L > L > H > Special | Low | Steady | Low |
| H > H > Special > Ultimate | High | Burst | Medium |
| Parry > L > L > H > Special | High | Burst | Low (when parry lands) |
| Counter > L > L > H | Medium | Medium | Low |
| Dodge > L > L > L > H | Low | Steady | Low |
Common Pitfalls and How to Fix Them
The four most common pitfalls in ANANTA combat skills play are panic specials, late parry attempts, over-committed ultimates, and stamina-starved dodges. Panic specials happen when you tap the special button out of habit instead of after a confirmed cancel route — the fix is to bind the special input to a comfortable face button and only press it after a heavy 2 lands. Late parry attempts happen when you try to parry from neutral instead of after a read — the fix is to bait a heavy string with a forward-dash, then parry on impact. Over-committed ultimates happen when you burn the meter at 30% enemy health — the fix is to hold for a guaranteed punish, even if it means losing one round. Stamina-starved dodges happen when you chain dodges without letting stamina regenerate — the fix is to limit yourself to two dodges per string, then block or parry the third hit.
Practice Drills for Layer Confidence
Layer confidence comes from targeted drills, not from grinding matches. The four highest-value drills are: parry practice against an AI heavy string spammer, dodge-cancel practice on the training dummy, special move cancel timing on the slow-bot partner, and ultimate punishes on a recoverable pattern dummy. According to community testing, 15 minutes per drill per session is enough to see ranked improvement within a week. Pair these drills with the character-specific matchup knowledge from the ANANTA character skills breakdown and you will start to feel the layer connections click in real fights.
Frequently Asked Questions
What is the best way to learn ANANTA combat skills as a new player?
Start with the light > light > heavy > special cancel path, drill it for 15 minutes per session on the training dummy, and only add ultimates once the cancel timing is consistent. This single path covers roughly 60% of the neutral situations you will face in ranked play, according to community data.
How do I read the parry window for ANANTA counter attacks?
The ANANTA parry system opens 6 frames before enemy impact. Watch the leading hand and the shoulder lean: a forward shoulder shift means a heavy string, which is the easiest parry read. Practice on the AI heavy spammer until you can deflect three in a row without missing.
When should I burn my ANANTA ultimate attacks?
Hold your meter until the enemy commits to a punishable heavy string, then release the ultimate as a parry follow-up. According to player reports, holding for a guaranteed punish is roughly 25% more damage than burning the meter on a low-health opponent, because you avoid the meter starvation that follows a wasted ultimate.
What stamina rules should I follow for ANANTA dodge mechanics?
Limit yourself to two dodges per enemy string and let stamina regenerate before the third incoming hit. A stamina-starved dodge leaves you unable to parry or counter, which is the most common cause of panic losses. Block is free and safe while stamina recovers.
Do ANANTA special moves break guard automatically?
Only the Lunge Strike reliably breaks guard in mid-screen. The Rising Knee and Spinning Sweep deal damage through guard but do not stagger, so you still need a follow-up light string to confirm a hit. According to community testing, mixing Lunge Strike with dodge spacing is the most consistent guard break route in ranked play.